

I have been wanting to spruce up our dining room with some new decor (even if we do only use this room once a year). I had seen a picture pop up of one of these scrolls surrounded by a plate wall (that is coming next). As most of my readers already know, I am a very strict budget since leaving my full time job to stay home with my son a few months ago. So, even though I could have picked one of these up custom made by a professional for around $50 I decided to drop the zero and make this myself for $5. Yes, you read that correct... FIVE dollars y'all!
Let's get started!
What you will need:
- 1 roll of postal paper
- Tape
- Black Sharpie marker
- Black paint (I used fabric paint that I had on hand but honestly I think any ol' black paint would do!)
- Artists Brush
- Twine


Step 1: Choose your quote/Lay it out

So, the first thing I did was decide what I wanted my sign to say. I have seen a lot of different quotes used on these scrolls but I wanted to do something unique that tied into a dining room. Once I had figured out what I wanted my sign to say I decided to lay out exactly how I wanted my sign to look using Canva. This was simply something I used as a guide as I was writing out the words so I could visualize spacing and how I wanted the letters to look.
Step 2: Write out quote
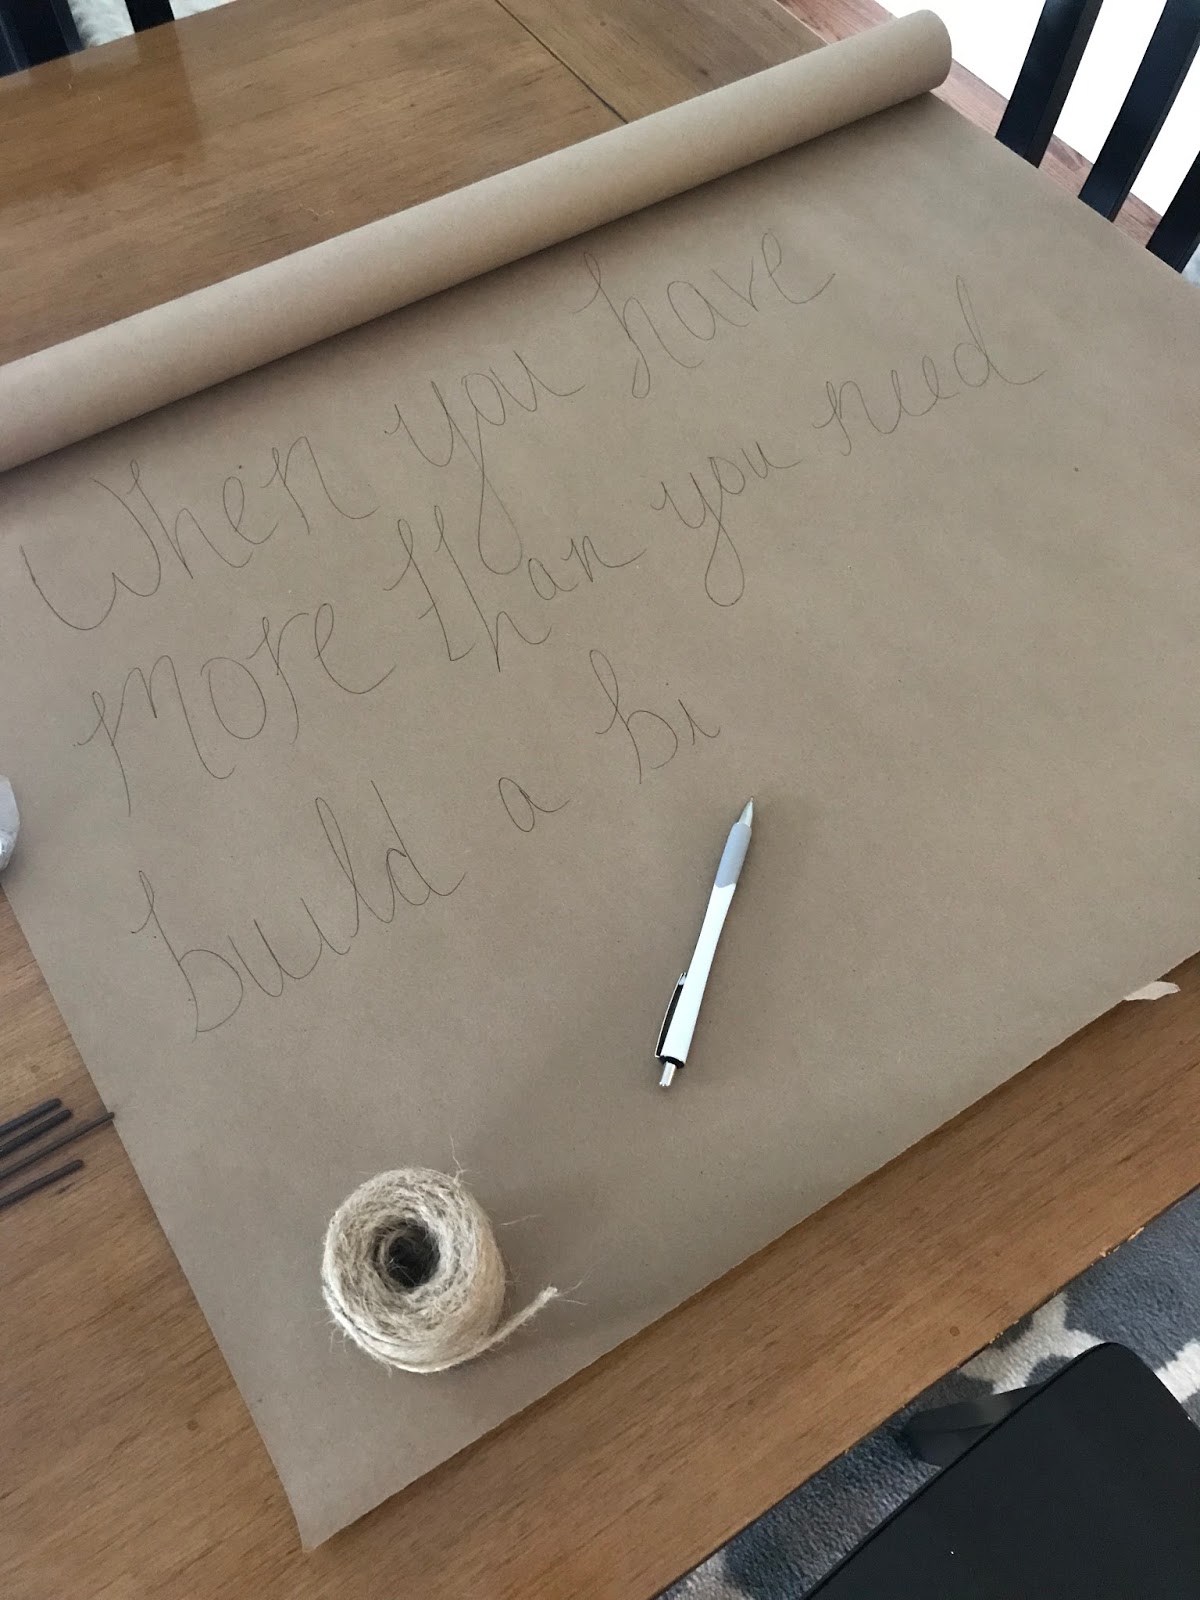
Using the template I created as a guide, I simply used a ball point pen to write out the quote. I tried my best to make the letters look whimsical. The GREAT thing about this project is that you have a whole role of paper so if you mess up you can simply roll it up and start over (confession: I wrote mine out 4 times and STILL could have tried again!)
Step 3: Start Painting


Once I had the quote exactly how I wanted on the paper, I started to paint over them! I am not a hand lettering expert so this took some practice! I made sure the brush was flattened and then made a thick line along the letters. I got the hang of it after a while and started making the lines thicker in places and thinner in others. Then, I got smart and only used paint for the thicker lines and left the thin to be finished in the sharpie marker.
Step 4: Clean It Up

After all of the painting was complete (and DRY!) I went back to clean things up with the sharpie marker. I cleaned up edges and finishing the thinner lines I mentioned above.
Step 5: Hang your artwork


Now that the wording was complete I simply rolled the paper about 2 feet and cut. I then rolled that two feel up to make the top of the scroll to match the bottom and taped it in place.
Once that was complete I measured some twine I had on hand and looped it through the top scroll to hang.
Step 6: Pat yourself on the back!

You did it! And it looks wonderful :)

I love love LOVE how this turned out! Now that I have the first one done I am thinking about trying some seasonal ones!
What would your scroll say? Let me know in the comments below!
What would your scroll say? Let me know in the comments below!
As always, thank you for visiting R&R at home!


7 comments
Wow! It's beautiful, you did an amazing job.
ReplyDeleteThank you so much Lisa!
DeleteI personally love this quote! Such a good reminder in today's day and age! Can't wait to do this myself! Love your blog.
ReplyDeleteThank you Kate! I am LOVING how yours turned out as well! :)
DeleteLove the saying and the way you have it displayed - simple and CHIC!
ReplyDeleteThe lettering is awesome. A couple of years back I saw a sign in a craft store that really hit home because I was whining I didn't have the funds to buy it.
ReplyDelete"Somebody else would be happy to have what you have" We need to practice gratitude.
Myrna
I love this idea. And when I saw your quote, it stopped me in my tracks (scrolling). That is one of the best quotes I've seen. I love it.
ReplyDeleteShare your thoughts with me!